Optimising your influencer profile on Webfluential
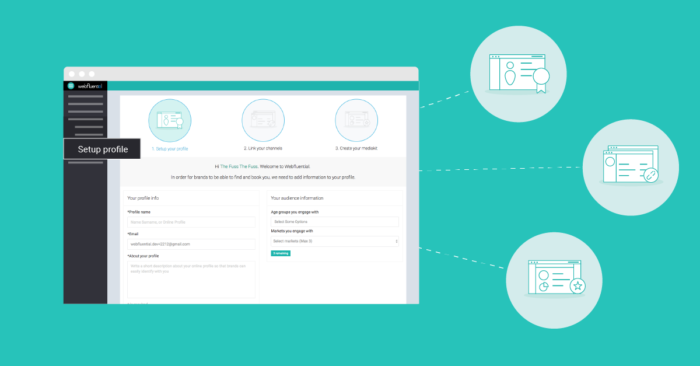
November 29, 2016 5:52 pmWith more influencers joining our influencer community we want to ensure we provide you with ways to get the most out of your Webfluential account. After your application is authenticated there are three important steps you need follow to ensure that you have a profile which is optimised and readily available to marketers looking to work with influencers like yourself.
To ensure you show up in searches by marketers and can use our technology to monetise your social influence follow these steps:
- Create a profile
- Complete your influencer tags – marketers search via tags and if you don’t have any you might not be found
- Link all your relevant channels – Blogging, Facebook, Twitter, Snapchat, LinkedIn or Youtube
- Set your pricing for your linked channels
How do I create a profile?
- Log in
- Click “My Profiles”
- Click “Add New”
- Complete required fields
How do I complete my influencer tags
- Select the markets you engage with (E.g. Beauty, Entertainment, Fashion)
- Include tags within each selected market (E.g. Tags for the selected Beauty market could be make-up, skincare, nailcare, etc)
- Click “Save & continue”
How do I link my channels?
- Click “Add” below the relevant channel icon
- Follow prompts
How do I set my pricing for linked channels?
- Allow 24 hours for the platform to provide your linked channel a Webfluential Score based on your data
- Click “My Profiles”
- Select the profile you created
- Click “Manage” on the linked channel/s
- Click “Update” next to Pricing (The system automatically sets your pricing according to your Webfluential Score)
- Set you desired pricing
- Click “Save changes”
Share this article


