Webfluential Pricing and Fees – 2017

January 1, 2017 11:02 am Published by

pricing update

Why is it changing?

Until now, Webfluential has subsidized all the costs related to serving our creator community. These costs include the cost of acquiring and servicing our network of over 5,000 marketers, sourcing you campaign work, giving you a great platform at no cost, and helping you connect with the right opportunities, and educating you on being a better creator.

From January, Webfluential will introduce a charge of 12.5% service fee for creators on work that they receive from Partner campaigns and job requests from marketers. This is in line with  universally accepted fee structures for P2P and B2C online marketplaces and will allow us to continue serving creators with the best technology without membership fees. In effect, we are giving you access to all of the technology free-of-charge until you make any money through offers that come to you, that you otherwise wouldn’t have received.

For work that you proactively seek out, through the Proposals module, will have no service charge for creators as the time and effort to create a proposal and find a marketer largely remains with the creator.

What is changing?

These updates apply to all creators within the Webfluential community. The updates are described in the table below:

[table id=1 /]

How does this affect me?

The service fee will be taken from your rate-card rate for the relevant campaign or direct job. We have provided a simple example below to explain the affect on your earnings:

[table id=2 /]

As a creator you have the final say on your pricing per channel and are free to adjust however and whenever. Feel free to adjust your pricing in line with the market rates, and account for this change relative to how you wish to charge for your work.

Should you have any further questions in regards to this service fee, feel free to contact us at [email protected]

Share this article

Creating your Webfluential media kit

December 5, 2016 10:30 am Published by

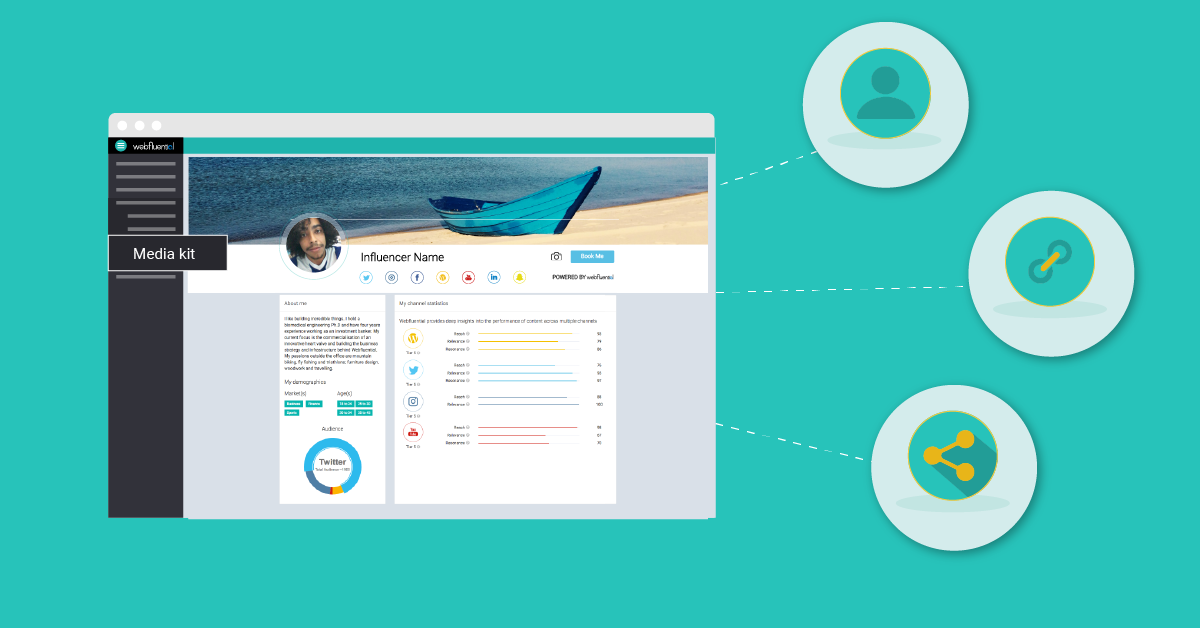
Your media kit is the best way to give an overview of your digital presence and online influence. Webfluential allows you to create a digital media kit which is professional, polished and easy-to-use.

media-kit-2


Follow the steps below to create your Webfluential media kit

  1. Ensure your Webfluential profile is complete and optimized
  2. Customise your media kit settings
  3. Add featured content and other information
  4. Preview and share your media kit

How do I complete and optimise my Webfluential profile?

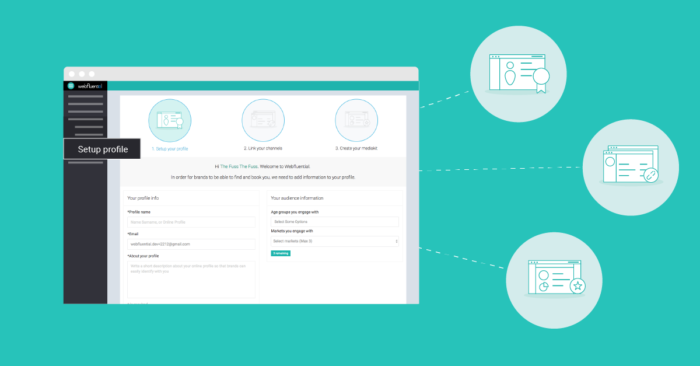
You cannot have a Webfluential media kit without a Webfluential profile. Read this post for help completing and optimising your Webfluential profile.

How do I customise my media kit settings?

Customising about section

  • The “About me” section of your media kit is pulled from your profile data
  • Click “Edit in Profile” in About You section to update the “About me” section of media kit

Webfluential media kit

  • Update name in “Name” text field
  • Update description in “About” text field
  • Click “Save”

media kit Webfluential


Activating your Booked by Webfluential form on your media kit.

  • Click the red cross next to “Booked by Webfluential” to allow marketers to book you directly from your media kit.

Activating channel scores and audience demographics

  • Click the red cross next to “Show your channel stats” in order to display your Webfluential scores next to each of the channel on your media kit
  • Click the red cross next to “Show your facebook fan page audience demographic” in order to display your audience demographics on your media kit


Webfluential media kit

Customising your header image

  • Click “Choose File”
  • Select image from your computer (Recommended aspect ratio is 1400×300)
  • Click “Open”

free media kit

How do I add featured content and other information?

Adding featured branded content to your media kit

  • Fill in relevant brand in “Brand name” text field
  • Fill in relevant brands twitter handle in “@brand” text field
  • Fill in relevant brands website in “Brand’s website” text field
  • Fill in relevant content URL in “Content URL” texxt field
  • Fill in a short description of content or campaign in “Content copy” text field
  • Click “Add”

Add brands to free media kit

Adding featured tweets to your media kit

  • Copy relevant tweet URL
  • Paste tweet URL in “Full Tweet URL” text field
  • Click “Embed Tweet”

Webfluential media kit

Adding other information to your media kit

  • Fill in relevant information in “Highlights” text field
  • Format using toolbar above text field
  • Click “Save”

Highlights section. free media kit


How do I preview and share my media kit?

  • Click “Preview Page” to preview your media kit
  • Click Facebook “Share” to share your media kit on Facebook
  • Clichttp://blog.webfluential.com/wp-content/uploads/2015/12/Artboard-6.pngk Twitter “Share” to share your media kit on Twitter

create free media kit Weblfuential


Login to Webfluential


Share this article

The State of Influence on Social Media by Iconosquare

December 2, 2016 12:23 pm Published by

iconosquare

Leading Instagram analytics & management platform, IconoSquare,  recently shared a video highlighting the state of influence on social media. The data featured in the video references the recent #LifeOfAnInfluencer series on Social Media Today which provided YouTubers, Instagrammers, and Twitter influencers with infographics covering everything from pricing guidelines, cheat sheets, and the platforms they are using.

Check out the Iconosquare video below and let us know your thoughts:


Share this article

ESTIMATE HOW MUCH YOU COULD BE EARNING

GET AN ESTIMATE

GET DETAILED REPORTS

VIEW DEMO REPORT