December 5, 2016 10:30 am
Published by Webfluential
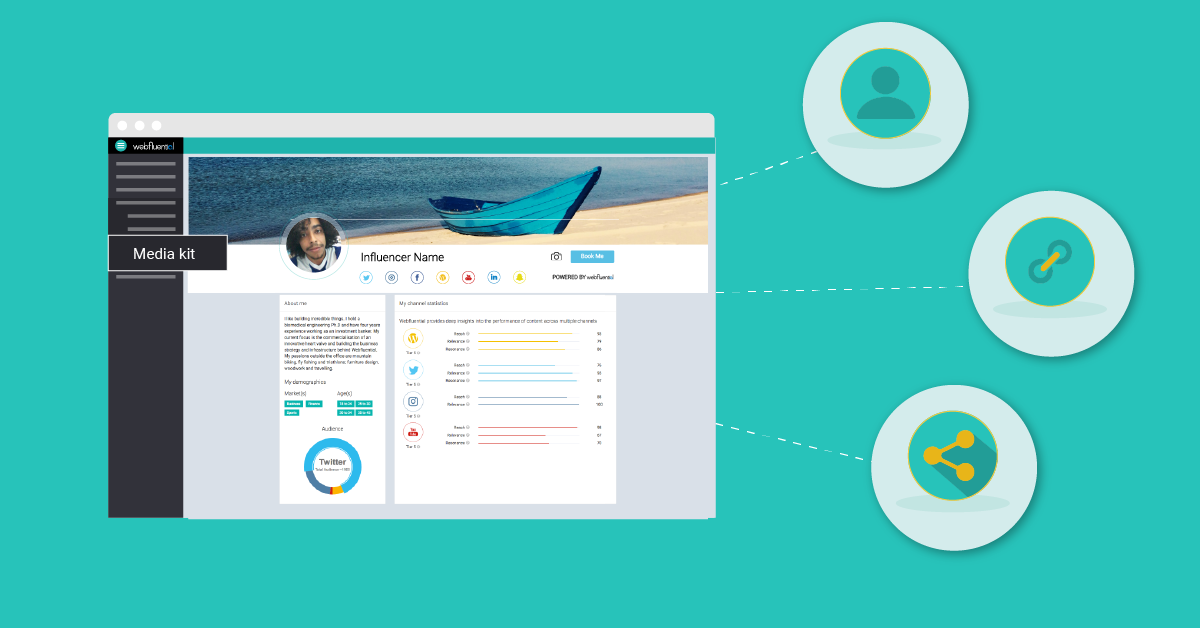
Your media kit is the best way to give an overview of your digital presence and online influence. Webfluential allows you to create a digital media kit which is professional, polished and easy-to-use.
 Follow the steps below to create your Webfluential media kit
- Ensure your Webfluential profile is complete and optimized
- Customise your media kit settings
- Add featured content and other information
- Preview and share your media kit
How do I complete and optimise my Webfluential profile?
You cannot have a Webfluential media kit without a Webfluential profile. Read
this post for help completing and optimising your Webfluential profile.
How do I customise my media kit settings?
Customising about section
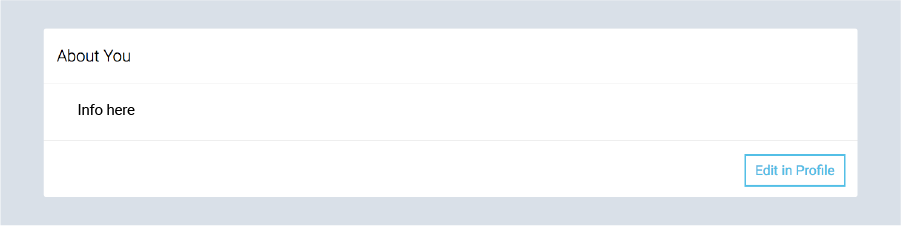
- The “About me” section of your media kit is pulled from your profile data
- Click “Edit in Profile” in About You section to update the “About me” section of media kit
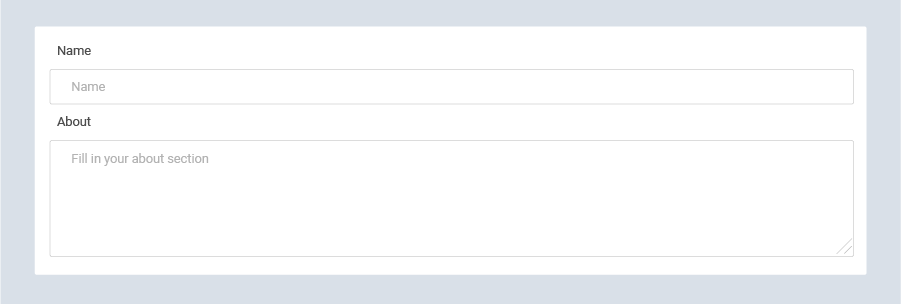
- Update name in “Name” text field
- Update description in “About” text field
- Click “Save”
 Activating
 your
Booked by Webfluential
form on your media kit.
- Click the red cross next to “Booked by Webfluential” to allow marketers to book you directly from your media kit.
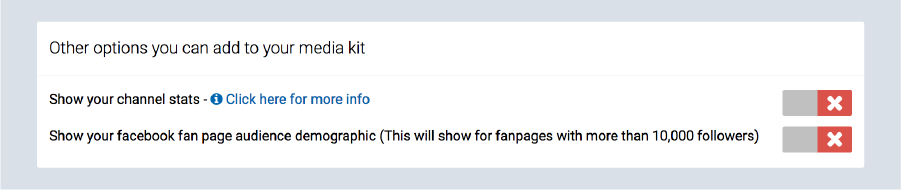
Activating channel scores and audience demographics
- Click the red cross next to “Show your channel stats” in order to display your Webfluential scores next to each of the channel on your media kit
- Click the red cross next to “Show your facebook fan page audience demographic” in order to display your audience demographics on your media kit
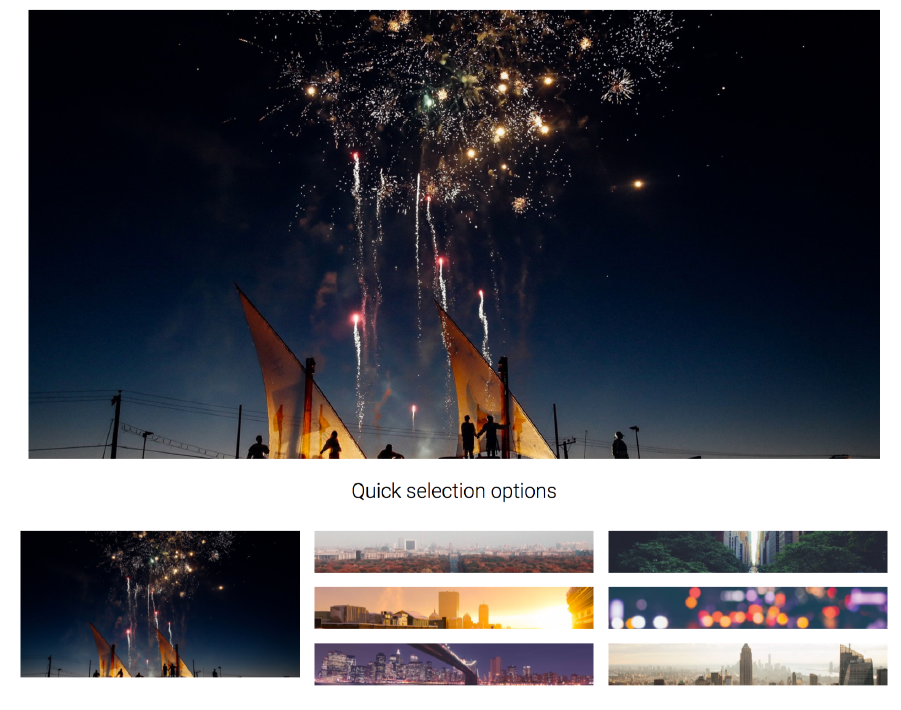
 Customising your header image
- Click “Choose File”
- Select image from your computer (Recommended aspect ratio is 1400x300)
- Click “Open”
 How do I add featured content and other information?
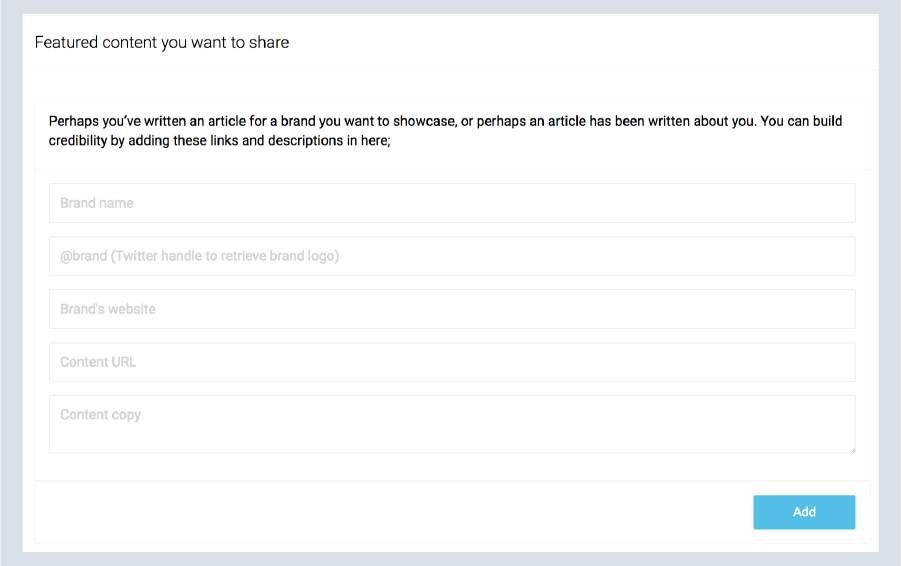
Adding featured branded content to your media kit
- Fill in relevant brand in “Brand name” text field
- Fill in relevant brands twitter handle in “@brand” text field
- Fill in relevant brands website in “Brand’s website” text field
- Fill in relevant content URL in “Content URL” texxt field
- Fill in a short description of content or campaign in “Content copy” text field
- Click “Add”
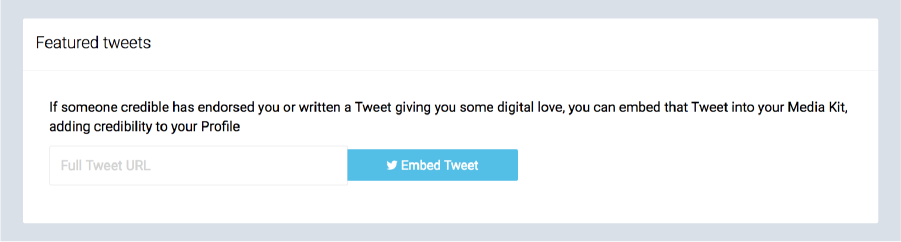
Adding featured tweets to your media kit
- Copy relevant tweet URL
- Paste tweet URL in “Full Tweet URL” text field
- Click “Embed Tweet”
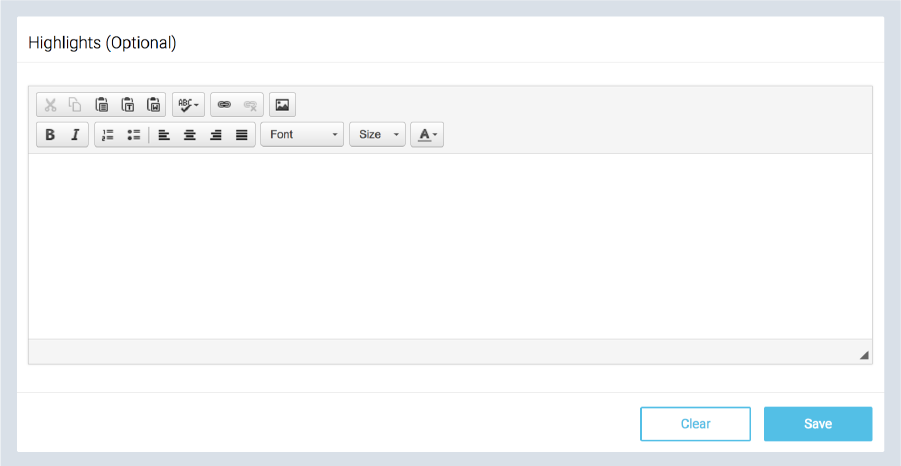
Adding other information to your media kit
- Fill in relevant information in “Highlights” text field
- Format using toolbar above text field
- Click “Save”
How do I preview and share my media kit?
- Click “Preview Page” to preview your media kit
- Click Facebook “Share” to share your media kit on Facebook
- Clichttp://blog.webfluential.com/wp-content/uploads/2015/12/Artboard-6.pngk Twitter “Share” to share your media kit on Twitter


